Friday 30 March 2012

Oh my, Apple Pie!

Week 14, Bake 14.

This weeks bake is thanks to my mum, as she wanted an apple pie but it is also a celebration pie (I passed my driving test!). Anyway so as I said this is a bake for my mum, I have baked a couple of times for my dad (and those are the bakes I have had trouble with) so instead of taking on another one of his 'challenges' I decided not to bake for him but for my mumsie. And she wanted apple pie so here is my recipe for apple pie.

Ingredients:
  • 225g of sifted plain flour
  • pinch of salt
  • 140g of butter (cold)
  • cold water
  • 4 cooking apples
  • a knob of butter to cook the apples in
  • sugar to taste
  • milk
Method:
  1. Pre-heat the oven to 200c.
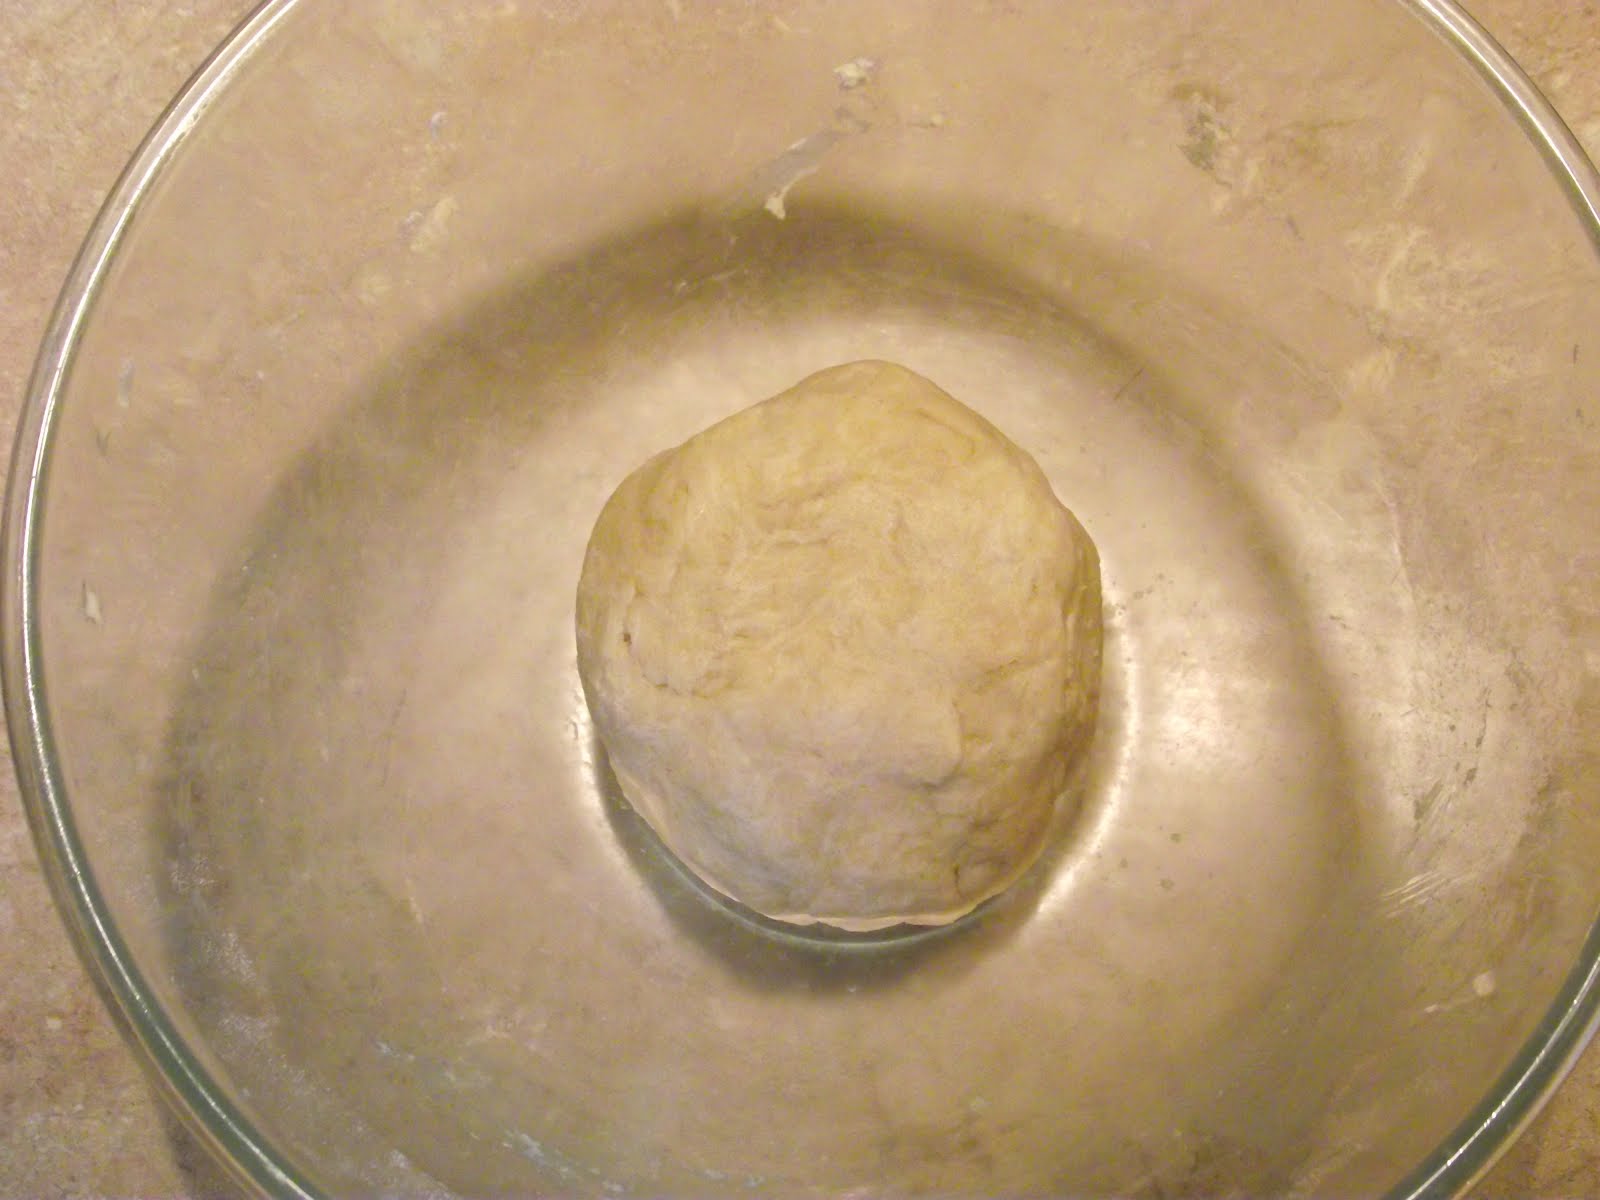
  2. Make the pastry, by adding the flour and salt together. Then rub in the butter to get it to a consistency of breadcrumbs.
  3. Now, pour a couple of tablespoons of cold water into the pastry and using a knife bring the mixture together.
  4. Once it is in a ball, place clingfilm over it and leave it in the fridge whilst you make the apple filling.
  5. Peel, core and slice the apples. To stop them from going brown lightly cover them in lemon juice.
  6. Now in a saucepan melt the butter and tip the apples in. At this point you want to lightly cook them, so not to make them mushy but so that they keep their shape but are soft.
  7. Cut the ball of pastry in two and now roll one of the two out and place it into your pastry dish.
  8. At this point add the apples and then roll out the other half.
  9. Wet the edges of the pie to seal it and place the top.
  10. Then crimp the edges.
  11. Decorate it anyway you like, I did a pi symbol for fun.
  12. Cook for 25 minutes.
Happy eating!


Wednesday 28 March 2012

The Reluctant Hostess


Yesterday I went to Blickling Hall in Norfolk. It was a lovely day, as it often is in Norfolk. One of my favourite parts of Blickling Hall is the old bookshop, it has got second hand books in which I LOVE. Anyway so I wanted to post about what I brought, the first thing was an old map of where I am moving to (I like maps), but the second things is what I am really chuffed about.


The Reluctant Hostess, by Ethelind Fearon.

This is one of the best old books I have found. It appears to be written by a 1950's woman who is sick of housework, entertaining and cooking. Even though it appears to be the anti-hostess book she actually comes up with a lot of really interesting and helpful hints.

Yet it seems that the underlying theme of this book is sarcasm (especially at the male sex) and of course there is the 1950s dubious food for example:
  • Jellied soup (served cold)
  • Kidney flan
  • Liver sausage with chopped olives
  • Larded pheasants
Anyway I love this book as not only is it funny and witty but it also has some brilliant 1950 drawings.

bRGScZ on Make A Gif, Animated Gifs
make animated gifs like this at MakeAGif


Monday 26 March 2012

Moving on...


So as mentioned in a previous blog, I have got a job! Which also means that I am moving away from the sunny delights of Norfolk and heading to one of my favourite places on this earth... Bath. Well, OK, I am not exactly moving to Bath as it is really expensive, but I am going to be moving near it (which is good enough really). So over the next few weeks I will be busy preparing to move, buying all the bits and bobs which I will need in my new home and getting ready for my first day at school!

Sunday 25 March 2012

A Sussex Belgian Bun

Week 13, Bake 13.

Surprisingly enough there are not many recipes for Belgian buns on the Internet. This may be because they are very available in most supermarkets and cafes, and yet even though I was severely limited for recipe choice I decided to make them as I do love them. When we lived in Sussex we had a lovely farm shop near us where they sold the best Belgian buns (mainly because they were huge!), so here is my attempt to recreate a classic.

Ingredients:
  • 1 teaspoon of caster sugar
  • 150ml of room temperature milk
  • 2 teaspoons of dried yeast
  • 200g of plain flour
  • 1/2 a teaspoon of salt
  • 25g of butter (for the dough)
  • 25g of butter (for the filling)
  • 25g of raisins
  • 25g of sugar (brown or white)
  • milk to glaze
  • icing sugar
  • water
  • a glace cherry to place on the top
Method:
  1. Stir the teaspoon of sugar into the milk and then whisk in the yeast. Now let it froth up in a warm place for 20 minutes or so.
  2. Meanwhile rub the butter into the sifted flour and add the salt.
  3. Once the milk is frothy enough, make a well in the flour. Now pour in the milk mixture and beat it with a wooden spoon until it becomes a sticky ball.
  4. Now cover the dough and leave it to rest for 30 minutes or until it doubles in size.
  5. Flour a surface really well and turn the dough out. Lightly knead it, adding flour if it is still sticky.
  6. Now roll it out into a 20cm square.
  7. Melt the remaining butter and brush over the dough, then sprinkle the raisins over the top and the sugar.
  8. Now roll the dough (as if you were rolling a Swiss roll).
  9. Cut into eight equal pieces and put on a tray, cover and prove for 30 minutes.
  10. Pre-heat the oven to 200c. Then cook them for 15-20 minutes.
  11. Cool on a wire rack.
  12. Meanwhile make the icing, by whisking together icing sugar and a small amount of water. The icing should be very thick so it wont fall off the finished buns.
  13. Spoon the icing onto the buns and place half a glace cherry on top to finish.


Wednesday 21 March 2012

An afternoon at the beach...

So we had some down time yesterday and as it was a sunny day we went to the beach! Here are some of my piccys from our beach day in Wells-next-the-sea, Norfolk. Click to enlarge the images.

Wednesday 14 March 2012

C is for cookie...

Week 12, Bake 12.

I have had a very good week this week. I have been offered and accepted a job as a Speech and Language Therapist at a school for dyslexic children (my perfect job). So to celebrate, this weeks bake is special. Cookie monster cupcakes!

This bake is in two pieces really, cookies and cupcakes.
Ingredients: (cupcakes)
  • 180g plain flour
  • 20g of corn flour
  • 1 1/4 teaspoons of baking powder
  • 1/2 teaspoon of baking soda
  • 1/2 teaspoon of salt
  • 2 eggs
  • 175g of caster sugar
  • 1 1/2 teaspoons of vanilla essence
  • 120ml of vegetable oil
  • 120ml of buttermilk
Ingredients: (cookies)
  • 300g of plain flour
  • 1/2 teaspoon of baking soda
  • 1 teaspoon of salt
  • 170g of unsalted butter
  • 120g of white sugar
  • 215g of brown sugar
  • 1 tablespoon of vanilla essence
  • 1 egg
  • 1 egg yolk
  • 300g of chocolate chips of dried fruit
Ingredients: (decorating)
  • 125g of soften butter
  • Icing sugar
  • A splash of milk
  • Blue food colouring
  • Black food colouring
  • White royal icing
Method:
  1. Pre heat the oven to 180c.
  2. For the cupcakes: sift the flour, baking powder, baking soda and salt into a mixing bowl.
  3. In a separate bowl, beat the eggs together using an electric mixer for 10 seconds then add in the caster sugar and beat for 30 seconds.
  4. Now add in the oil and vanilla essence and beat again until it is all combined.
  5. Now on a slower speed, tip in half of the flour and then once combined add in half of buttermilk. Now add in the final amount of flour and buttermilk and beat until it is all combined.
  6. To make the small cookies for cookie monsters mouth, use a teaspoon to measure out a small amount of cookie dough and place them onto a baking sheet.
  7. To make the bigger cookies (which you will be eating separately) use an American measuring cup, fill it with the batter and then pour this into each cupcake case.
  8. Bake for 10-12 minutes.
  9. Leave them to cool on a wire rack.
  10. Now for the cookies: sift the flour, salt and baking soda.
  11. Now melt the butter. In a separate bowl, pour the melted butter into a mixing bowl and stir in the sugars.
  12. Add the egg and yolk and beat it into the butter/sugar mixture.
  13. Stir in the dry ingredients and then stir in the chocolate chips/raisins.
  14. Cover the dough and let it rest in the fridge for 1 hour.
  15. Meanwhile prepare the icing. Beat the butter in a bowl and then add the icing sugar a bit at a time and beat it.
  16. Now add a splash of milk, the vanilla essence and the food colouring.
  17. Beat all together and then spoon the icing into a piping bowl with a small star nozzle.
  18. Cut a slit into the cupcake to make the mouth and cut a cookie in half.
  19. Pipe round the mouth and then shove the cookie into the mouth and finish piping the rest of the cupcake.
  20. Roll out eyes for the cookie monster and paint eye balls on them with a paint brush and black food colouring.

This is how I cook:


Pin It

Tuesday 6 March 2012

Never ever again...

Week 11, Bake 11.

So this weeks bake was something different, I decided that we had had enough sugar recently so this weeks bake was croissants. And may I just say this, never, ever again. Now this isn't to say that that it went horribly horribly wrong, just it took FOREVER. So I will not be making them again, but it was a good test of skill.Ingredients:
  • 500g of strong white bread flour, sifted
  • 1 packet (7g) of fast action dried yeast
  • 3 tablespoons of caster sugar
  • 1 tablespoon of crushed sea salt
  • 325ml of milk
  • 250g of unsalted butter
  • 1 egg, beaten
Method:
  1. Put the flour into a large mixing bowl and stir in the dried yeast. Now make a well in the centre of the bowl.
  2. In a jug, stir the sugar and salt into the milk until it has dissolved. Now pour into the well and mix it in. Use a metal spoon at first, but then use your hands to bring the mixture together.
  3. Beat together quickly to make sure that all the ingredients are together but do not knead as this will overwork the dough. It will be done when it comes away from the bowl, it will be sticky and rough looking.
  4. Put it back in the bowl and then cover it with clingfilm and leave in a warm place for about 1-2 hours, or until it has doubled in size.
  5. Gently punch the air out of the dough and then recover it and but the bowl in the fridge to rest the dough for at least six hours, however I rested it overnight.
  6. The following day, take the block of butter out of the fridge and allow it to warm slightly. Between two pieces of greaseproof paper flatten down the butter into approx 14cm square. You can do this by beating it with a rolling pin (however this will take a long time and it will give you a headache), roll it like you would do pastry or smoosh it down with your hands.
  7. Now get your dough from the fridge and turn it out onto a very floured surface. Beat out the air again.
  8. Roll out your dough into a rectangle 25x60cm . Place the butter into the upper part of the dough. Fold over the dough to cover the butter and cover it completely.
  9. Flour the surface again if needed, turn the dough a quarter turn and roll the dough out again into a rectangle of 30x60cm.
  10. Brush off any excess flour and then fold the dough into three like a business letter. This is the first 'turn'. Now cover the dough in cling film and place it back into the fridge fully covered. Chill for 30 minutes in the fridge.
  11. Repeat the 'turns' (turning them 45 degrees for each turn) for another 2 turns, overall this will take a couple of hours.
  12. After the final chilling, roll out the dough thinly to a rectangle of 40x75cm. With a floured knife, trim the edges off the rectangle.
  13. Cut the rectangle length ways into two equal strips.
  14. Now cut the triangles, the base of each triangle should be 12cm and the edges should be 20cm. Use the trimmings to make up another couple of croissants.
  15. Now place the triangles onto trays with baking parchment on them and cool the triangles in the fridge for 10-15 minutes to firm up the dough.
  16. To shape each croissant,gently stretch the dough. Then place the triangle in front of you and, holding the point, roll the base towards you.
  17. Now arrange the croissants on the baking trays and cover them once again to let the rise in a warm place for 1-2 hours. Pre-heat the oven to 230c.
  18. (We are almost there now...) Once they have doubled in size beat an egg and apply it to the top of the croissants using a pastry brush. Then bake them in the oven at 230c for ten minutes, then lower the heat to 200c for a further five minutes.
  19. Remove them from the oven and leave them to cool on a cooling rack.
  20. And now after approximately one day you will have croissants. Was it worth it? I'm not even sure anymore?

Pin It