Tuesday 28 February 2012

Woodland Cake Pops

Week 10, Bake 10.

Cake pops! I have been looking to make these for a while, but I have had a long list of other bakes to bake first. Yet this week is cake pop week!

Cake pops are made in lots of stages; make the cake, crumble the cake, make and shape the pops, coat the pops and decorate them. So lets get started!Ingredients:
  • 200g of butter (at room temperature)
  • 110g of caster sugar
  • 2 eggs
  • 1 teaspoon of vanilla essence
  • 110g of self-rising flour
  • 1 teaspoon of cornflour
  • 2 cups of icing sugar
  • 1 packet of candy melts
  • Lolly pop sticks
  • royal icing for decorating
Method:
  1. Pre-heat the oven to 180c and line a cake tin with baking parchment.
  2. First make the cake, do this by beating 110g of the soften butter together with the caster sugar. Beat until the mixture is light and fluffy.
  3. Now in a jug, beat the eggs together and add to the butter/sugar one tablespoon at a time, so not to curdle the mixture. Now beat in the vanilla essence into it.
  4. Sift the flour and cornflour into the mixture and fold it in, so not to loose air.
  5. Turn the cake into the lined tin and bake for 20-25 minutes.
  6. Remove from the tin once cooked and cool until you are able to touch it.
  7. Once cool crumble the cake into a mixing bowl, and make the whole cake into crumbs.
  8. Now make your butter cream, beat the remaining butter and icing sugar together. Add this to your cake mixture and using your hands squish both the mixtures together until everything is combined.
  9. You can now shape your cake pops. Once you have done this, pop them in the fridge for 10 minutes to harden up.
  10. Meanwhile melt the packet of chocolate. Now dip a lolly pop stick into the chocolate and inset it into the bottom of your pop and put in back into the fridge for another 10-20 minutes. Do this for the rest of the cake pops. To make sure they stay the perfect shape, I put them into a block of oasis.
  11. Now dip the whole cake pop into the melted chocolate to cover it then twist the pop to remove the excess chocolate.
  12. At this point if you have made hedgehog shaped pops, you will want to use a fork to create the spikes.
  13. To finish off your cake pops, decorate them by using your food colourings and royal icing.


Pin It


Sunday 26 February 2012

Spring is here...

Just a few pictures of spring, it has come on all of a sudden! It was 18c today and so here are some pictures of last weekends adventure, we went to a snowdrop walk in a neighbouring village. I like snowdrops, but I do prefer bluebells after growing up so close to a bluebell wood. We had a lovely walk around the woods and then had tea and cake in the local church, how English!


Above (from left to right: A single snowdrop, sunlit snowdrops, from inside the boathouse


Above (from left to right): roots in water and the church pews in Brinton church


Above (from left to right): me eating cake, crocus in our garden, a swan who went for a paddle

And now to end this blog with a piece of music which always makes me giggle, last may I sat with my grandparents listening to this record, 3 generations all in fits of giggles!


Poisoning Pigeons in the Park by Tom Lehrer on Grooveshark

Thursday 23 February 2012

Happy birthday to you...

Week 9. Bake 9.

This weeks bake is for my father, he is #*@ (old) and this Saturday was his birthday. Now, sadly as a grumpy man he does not like icing. I know, whats wrong with him? Anyway so as it was his birthday I made him his favorite cake, at the expense of the rest of us - it was a date cake - yuck.

Anyway, so this is a date/fruit cake but because it is a birthday cake and therefore is special. Therefore I decided to paint one of his pictures (he is a brilliant photographer) onto a piece of royal icing. He can take the icing off the cake, but I wanted to give the cake a bit of birthday magic. So here is the picture, I will try and paint (I am terrible at painting, I mean really bad...)
So here is my family's fruit/date cake recipe:

Ingredients:
  • 400g of self raising flour
  • 200g of butter (salted)
  • 200g of caster sugar
  • 300g of dried fruit e.g. dates, currants, raisins
  • 4 eggs
  • 4 tablespoons of milk
  • Royal icing and food colouring for the picture
Method:
  1. Grease a tin and pre-heat the oven to 180c.
  2. Sieve the flour and add in the sugar and cubed butter into a large mixing bowl.
  3. Rub the flour, sugar and butter together with your fingers until it becomes like breadcrumbs.
  4. Now add the dried fruit, if using dates, chop them into half or thirds.
  5. In a jug, beat the eggs and milk together, then add it to the mixing bowl.
  6. Now combine all the ingredients together using a metal spoon.
  7. Place the cake mixture into a lined tin (I used one with a pop-out bottom).
  8. Cover the top of the tin with kitchen foil, so the top won't burn and cut out a small hole in it to allow steam out. (Otherwise you will have a steamed cake).
  9. Cook for 1 1/4 to 1 1/2 hours. Check to see if it is cooked by checking it using by sticking a metal skewer (or a knife) in to it and if it comes out clean, it is done.
  10. Now cool on a wire cooling rack.
  11. Meanwhile, cut out a circle of royal icing. Now draw out your design using a food colouring pen.
  12. The thing to remember is that when you transfer it to the cake, try to make sure the surface is as level as possible otherwise it will crack.
  13. Using food colouring as paints, paint your design. If you have too much colour on your brush, use kitchen towel to remove it or water it down with water.


Created with flickr slideshow.

Pin It

Wednesday 22 February 2012

I know where I've been...

As I have recently been put up on Craft Gossip's website and have had some very nice words written about me, which I am so chuffed about, I thought I would put up some more of my stitching.


This is a map of the world and the red line shows where I have been. I'm really proud of this, especially as it means that I can add to it when I go on holiday again.

So here is what I did:
  1. I brought a canvas from one of those cheap stationary shops. You don't want to have it too small as it will be difficult to add detail to the world.
  2. I then covered the canvas in calico, using a stapler.
  3. Now the difficult bit. I traced a map of the world onto the calico and then started stitching (using a back stitch). This will take ages, but it can be done whilst watching television.
  4. Now add the red thread and draw a line to the countries where you have been.
  5. And your done! Keep some of the red thread so you can add to it when you travel.


Pin It

Wednesday 15 February 2012

Claire's Eclair's

Week 8. Bake 8.

I have always loved eclair's, not just because of my name, but also they are so scrummy. So this weeks bake is focusing on choux pastry. After last weeks nightmare with hot water pastry, I being me, decided to not go for an easy pastry like shortcrust but instead make choux pastry which I last made in 2004 when I was on work experience under the watchful eye of a 5* pastry chef. I like a challenge. But to be honest, I found eclair's actually quite easy to make and I got to use my new icing nozzles!
Ingredients:
  • 100g of plain flour
  • 1/2 a teaspoon of salt
  • 75g of unsalted butter
  • 3 large eggs beaten
  • 300ml of double cream (for the filling)
  • 150g of dark chocolate (over 70% cocoa solids)
  • 3 tablespoons of double cream (for the ganache)
Method:
  1. Sift the flour onto a large piece of greaseproof paper. This will get air into the mixture.
  2. Put the salt, butter and water into a saucepan and and gently heat until the butter is melted, then quickly bring it up to boiling point.
  3. As soon as it boils, take it off the heat and pour in the sifted flour then beat it! The mixture will be a mess at first, but keep beating until it becomes a heavy dough.
  4. Put the pan back on the heat and keep beating for 2-5 minutes, until the dough comes into a ball and when you press your finger into it the dough it is greasy.
  5. Tip the dough out into a mixing bowl and allow to cool, until it is just warm.
  6. Pre-heat the oven to 200c.
  7. Now using an electric mixer slowly add the eggs in a bit at a time, mix well in between each addition. Once it is all added the mixture should look like a shiny paste and be liquid enough to be able to pipe. If you need to make it easier to pipe, break another egg and slowly add it until you get it to the right consistency. It should fall off a spoon slowly.
  8. Now pipe the mixture with a wide circle nozzle onto a greaseproof paper. Pipe them 8cm long.
  9. Bake for 15 minutes without opening the oven door. Then reduce the oven temperature to 180c and open the oven door to let the steam out. Cook for another 15-20 minutes or until golden brown.
  10. Remove from the oven and make a small hole in the end of each eclair's to let out steam and then pop them back in the oven for 5 minutes.
  11. Cool on a wire rack.
  12. Whilst they cool, make the filling; whip the double cream in a bowl. Until you can pipe it.
  13. Make the topping by melting the chocolate and remaining double cream in a bowl over a pan of boiling water (so not to burn it). Do this once the eclair's are cool.
  14. Cut the eclair's in half and pipe the cream into the centre of them using a star shaped nozzle.
  15. Now spread the chocolate ganache over the top of the eclair's using a palette knife.


A Law Student's Journey


Pin It

Tuesday 7 February 2012

Pork Pie Time

Week7. Bake 7.

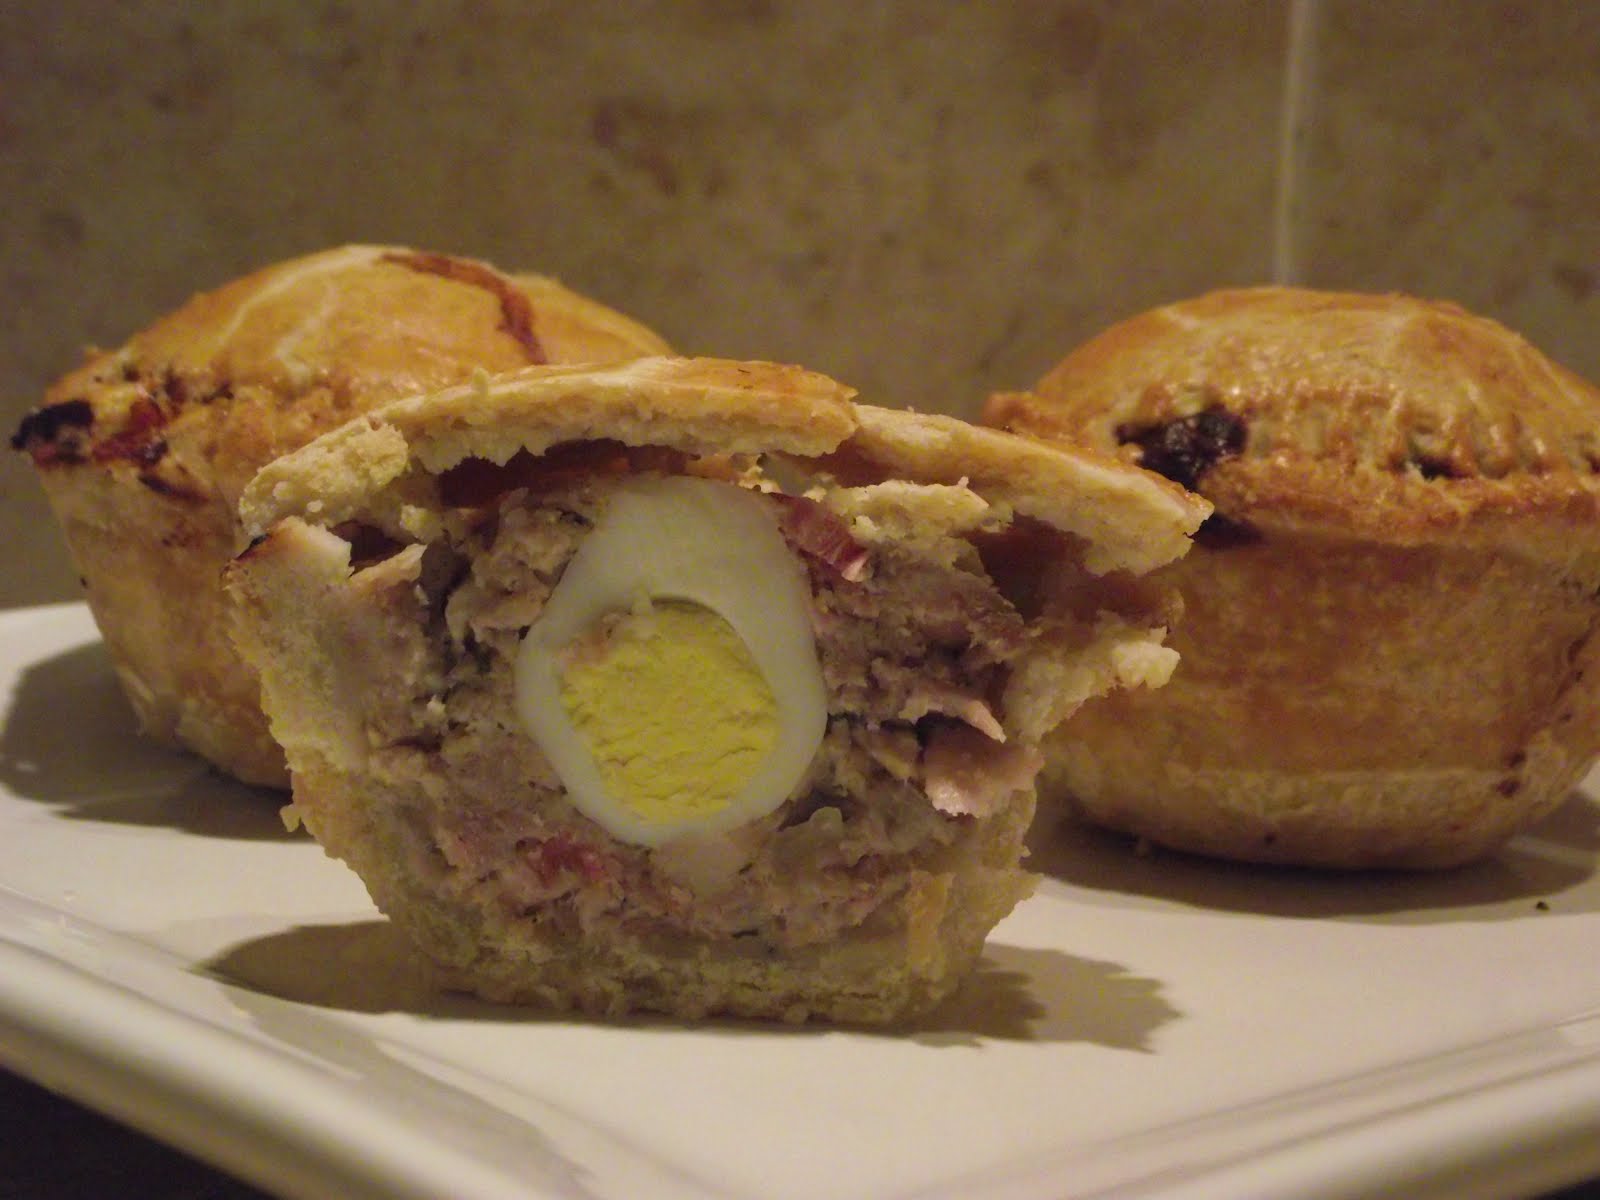
So this weeks bake is not a cake (for once) it is a pie. A pork pie. I'm not the biggest fan of pork pies but ever since I started this 52 bakes in 52 weeks thing, my dad has been telling me to make pork pies. So this weeks bake is for you dad!

I have adapted The Great British Bakes Offs pork pie to a slightly different recipe but have kept the quail eggs in the pies for two reasons:1. I love quail eggs
2. I actually know how to cook them (as part of our B&B we do a breakfast using quail eggs).

From this cooking experience I have learned that I hate making hot water crust pastry. It is hard to work with, it is crumbly, it is pesky to make and it is not worth the time. I would rather just buy pork pies. So I am not impressed with this pastry and probably won't make it again, but here is how I did it:

Ingredients:
  • 200g of plain flour
  • 40g of strong white bread flour
  • 50g of butter
  • 60g of lard
  • 1 teaspoon of salt
  • 200ml of boiling water (half for the pastry and half for the gelatine
  • 1/2 a large onion
  • 300g of sausage meat
  • 100g of smoked bacon
  • 2 tablespoons of chopped fresh herbs (I used parsley and thyme)
  • 1 good glug of Worcester sauce
  • 6 Great Snoring quail eggs (which come from the sleepy Norfolk village of Great Snoring!)
  • Salt and pepper to season
  • 1 Chicken stock cube
  • 5g of powdered gelatine
  • 1 egg beaten
Method:
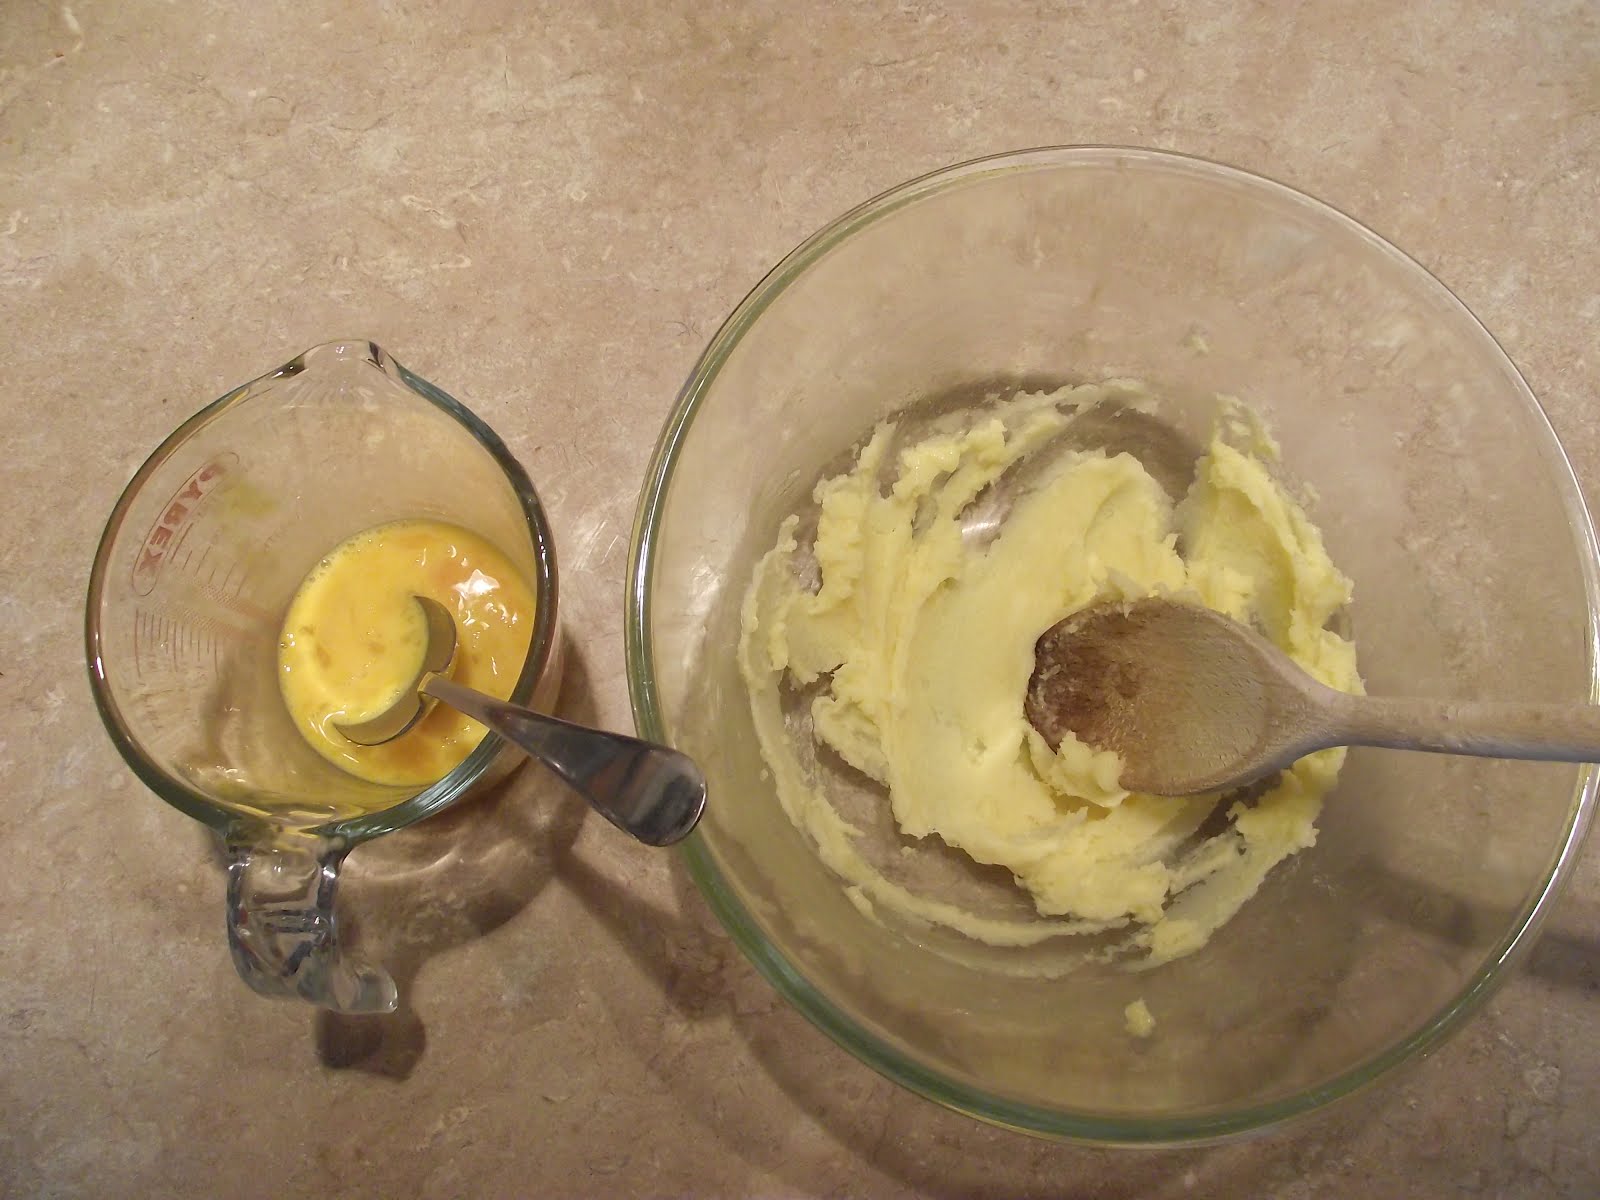
  1. Make the pastry: rub the sifted flour together with the butter to make breadcrumbs and make a well in the centre.
  2. In a saucepan melt the lard and remove from heat. In a jug add salt to the 100ml of boiling water and pour VERY carefully into the lard (this will spit and splutter at you).
  3. Once it has settled down, pour the lard mixture int the flour well. Now using a wooden spoon, quickly mix it together into a ball.
  4. Once it is ok to handle, turn it out onto a floured surface and knead it for a minute. Then roll it out till it gets to 3mm. You will have to work quickly as it cools and therefore hardens quickly and as a result it will be difficult to put into the muffin tin and will fall apart.
  5. So using a 11.5cm diameter circle pastry cutter, cut out six circles and the mould them into the muffin tins. If you find that when you put the circles into the muffin tins they are very brittle and are breaking every time the pastry isn't warm enough - so using your hands mould the pastry back into a ball and roll out again quickly. This is a difficult balancing act and it may take a few goes.
  6. Using the remainder of the pastry, cut out six lids for the pies (I used a 7cm diameter cutter, but for the best result your should probably use an 8cm cutter).
  7. Once you are happy with the pies, pop them in the fridge to cool and now make the filling.
  8. First pre-heat the oven to 190c. Then chop the bacon into rough cubes, dice the onion, chop the herbs and mix them all in a bowl with the sausage meat. At this stage season the mixture and add the Worcester sauce.
  9. Leave that to rest while you soft-boil the quail eggs. To soft boil a quails egg, bring water in a saucepan up to boiling point and place (by using a metal spoon) six quail eggs (and one for luck!) into the water. Set the timer for 2 minutes and as soon as it beats take it off the heat and drop the quail eggs into a bowl of cool water.
  10. Now peel them. Quail eggs have very tough shells so it will take some courage to crack them to start peeling them. Some people prefer to quail eggs under running water but I prefer doing it in a bowl of water.
  11. Once they are all peeled, make up the pork pies. Do this by spooning some of the meat mixture into the bottom of each pie. Then place the quail egg into the centre and pile some more of the meat mixture on top.
  12. Now beat an egg and brush the rim of the pies with it. Using a fork press the rims of the pies and lids together, or if you can do it crimp the pastry.
  13. Using a piping nozzle put a hole in the top of each pie (to allow the steam to come out and the gelatine go in).
  14. Top of each pie with a final egg wash and bake in the oven for 40 minutes.
  15. Once cooked carefully remove them from the pan and let them cool on a wire rack.
  16. Now make the gelatine. Do this by mixing the remaining water (boiling) to the chicken stock cube and the gelatine powder.
  17. Using the icing nozzle again pour this gelatine into the pork pies. And pop in the fridge or cool on the counter top (if cooling in the fridge this will only take a few hours, if cooling on the counter top this will take overnight).
  18. Now eat and enjoy.


Typically as this is the first non-cake bake my dad has spent his evening telling me how much he misses cake. Men!

Pin It