
Week 10, Bake 10.
Cake pops! I have been looking to make these
 for a while, but I have had a long list of other bakes to bake first. Yet this week is cake pop week!
Cake pops are made in lots of stages; make the cake, crumble the cake, make and shape the pops, coat the pops and decorate them. So lets get started!Ingredients:
- 200g of butter (at room temperature)

- 110g of caster sugar
- 2 eggs
- 1 teaspoon of vanilla essence
- 110g of self-rising flour
- 1 teaspoon of cornflour
- 2 cups of icing sugar
- 1 packet of candy melts
- Lolly pop sticks

- royal icing for decorating

- Pre-heat the oven to 180c and line a cake tin with baking parchment.
- First make the cake, do this by beating 110g of the soften butter together with the caster sugar. Beat until the mixture is light and fluffy.
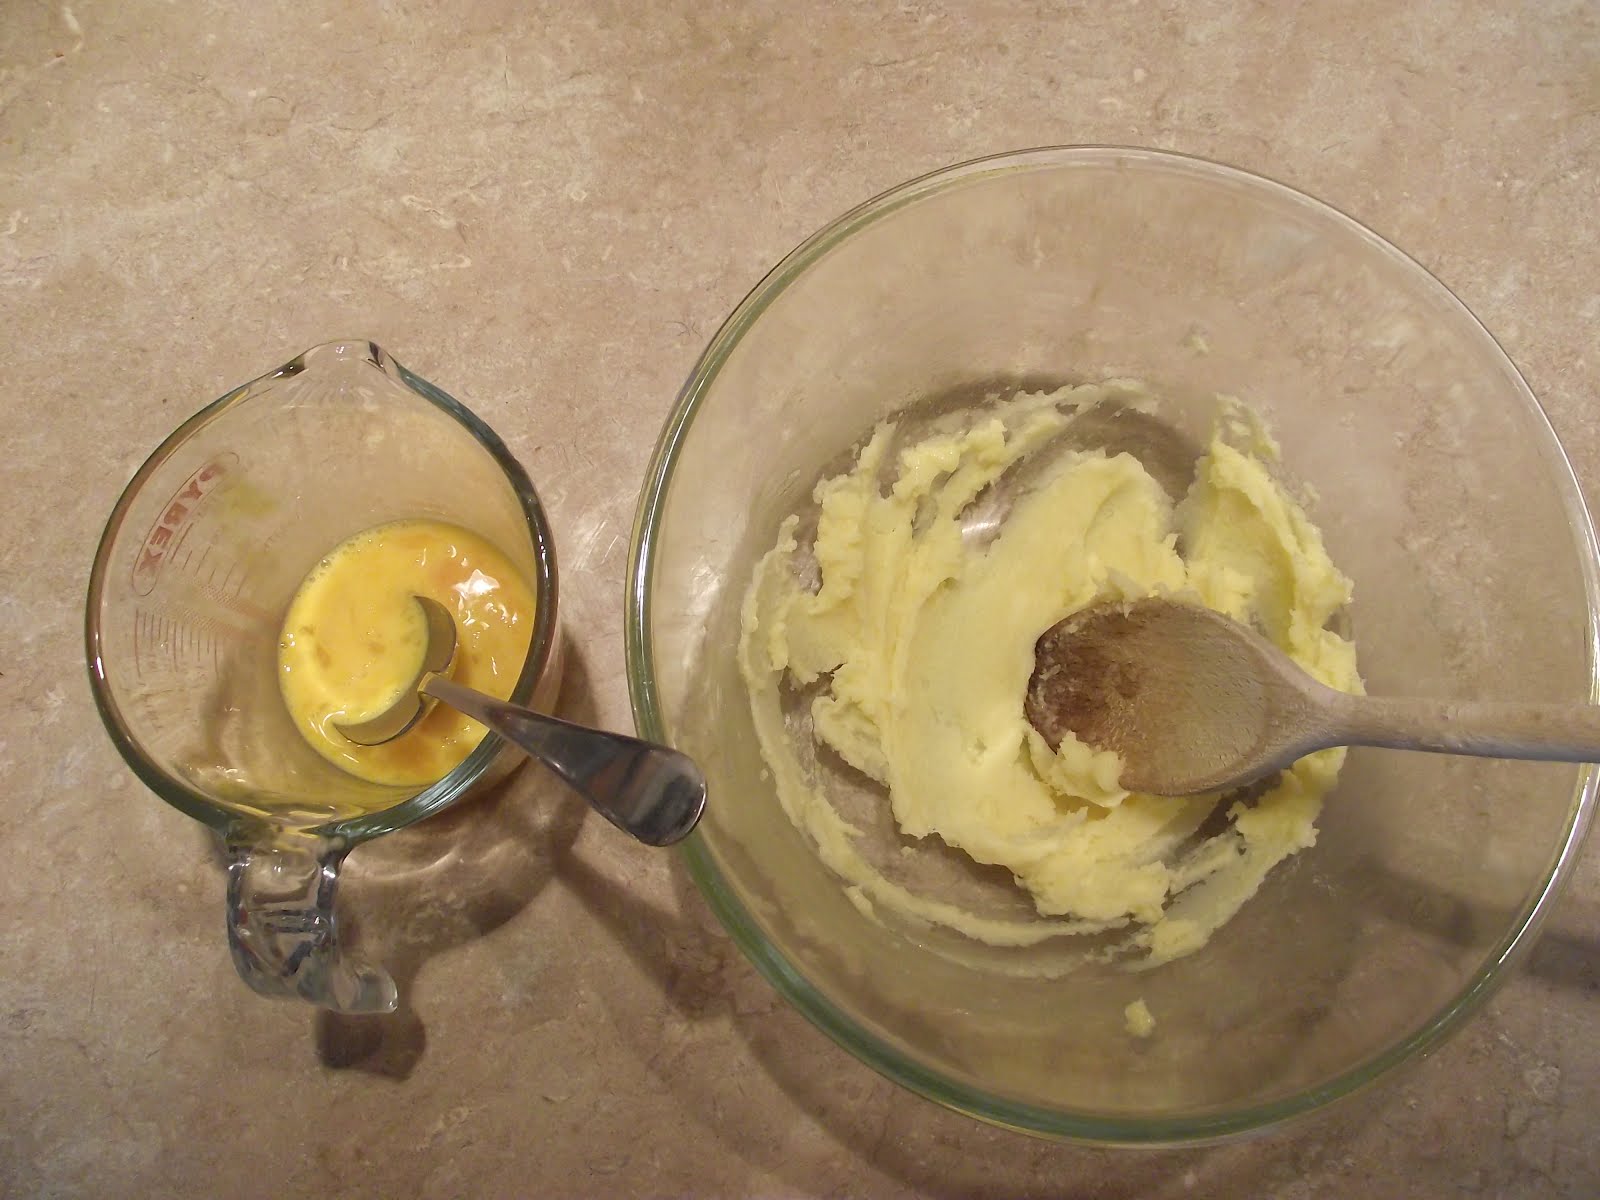
- Now in a jug, beat the eggs
 together and add to the butter/sugar one tablespoon at a time, so not to curdle the mixture. Now beat in the vanilla essence into it.
 - Sift the flour and cornflour into the mixture and fold it in, so not to loose air.
- Turn the cake into the lined tin and bake for 20-25 minutes.
- Remove from the tin once c
 ooked and cool until you are able to touch it.
 - Once cool crumble the cake into a mixing bowl, and make the whole cake into crumbs.
- Now make your butter cream, beat the remaining butter and icing sugar together. Add this to your cake mixture and using your hands squish both the mixtures together until everything is combined.

- You can now shape your cake pops. Once you have done this, pop them in the fridge for 10 minutes to harden up.
- Meanwhile melt the packet of chocolate. Now dip a lolly pop stick into the chocolate and inset it into the bottom of your pop and put in back into the fridge for another 10-20 minutes. Do this for the rest of the cake pops. To make sure they stay the perfect shape, I put them into a block of oasis.
- Now dip the whole cake pop into the melted
 chocolate to cover it then twist the pop to remove the excess chocolate.
 - At this point if you have made hedgehog shaped pops, you will want to use a fork to create the spikes.
- To finish off your cake pops, decorate them by using your food colourings and royal icing.


Pin It
Nice work! These look too good to eat. Thanks for sharing! Would love for you to link up: http://iamaddictedtorecipes.blogspot.com/p/link-party.html
ReplyDeleteHave a great weekend!
oh so cute!
ReplyDeleteThanks for linking up to the Scrumptious Sunday link party at http://iamaddictedtorecipes.blogspot.com
ReplyDeleteI will be choosing three recipes this weekend and will be featuring them on my blog and Facebook page:
http://www.facebook.com/AddictedToRecipes
Will see you again soon! Thank you again! These are SO cute :-)